





Controller Display Brightness
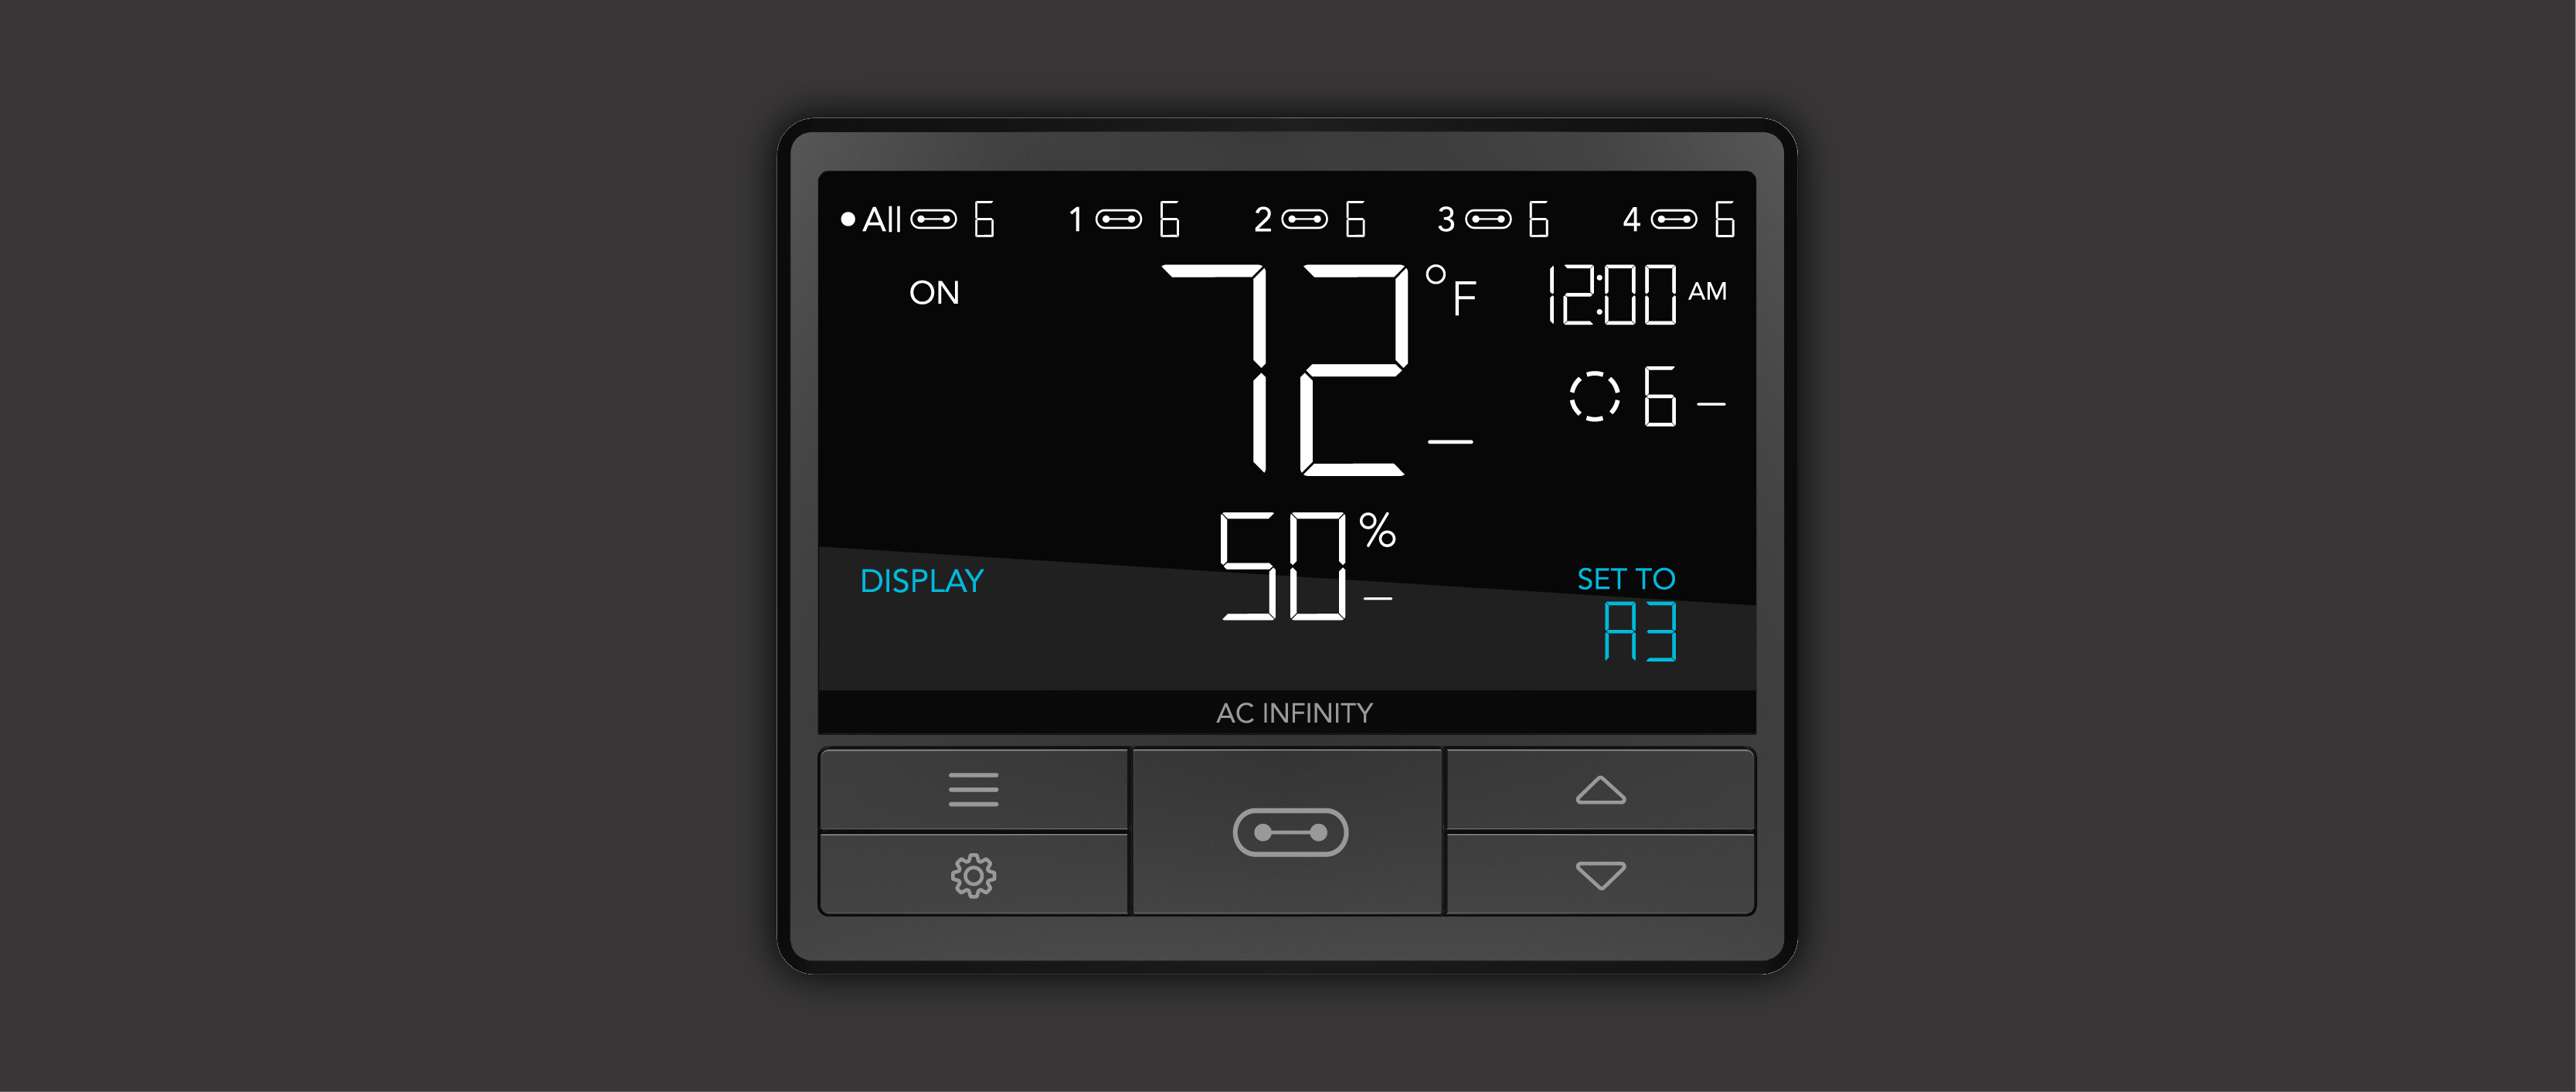
Sets the display brightness and the auto-dim function. Press the Up or Down button to switch between levels 1, 2, 3, A2, and A3; 3 is the highest brightness level, while 1 is the lowest. At settings 1, 2, and 3, brightness stays constant and the display does not dim automatically.
A2 and A3 set the brightness to level 2 or 3 respectively, and automatically dim to level 1 after 15 seconds of inactivity.
F/°C Setting
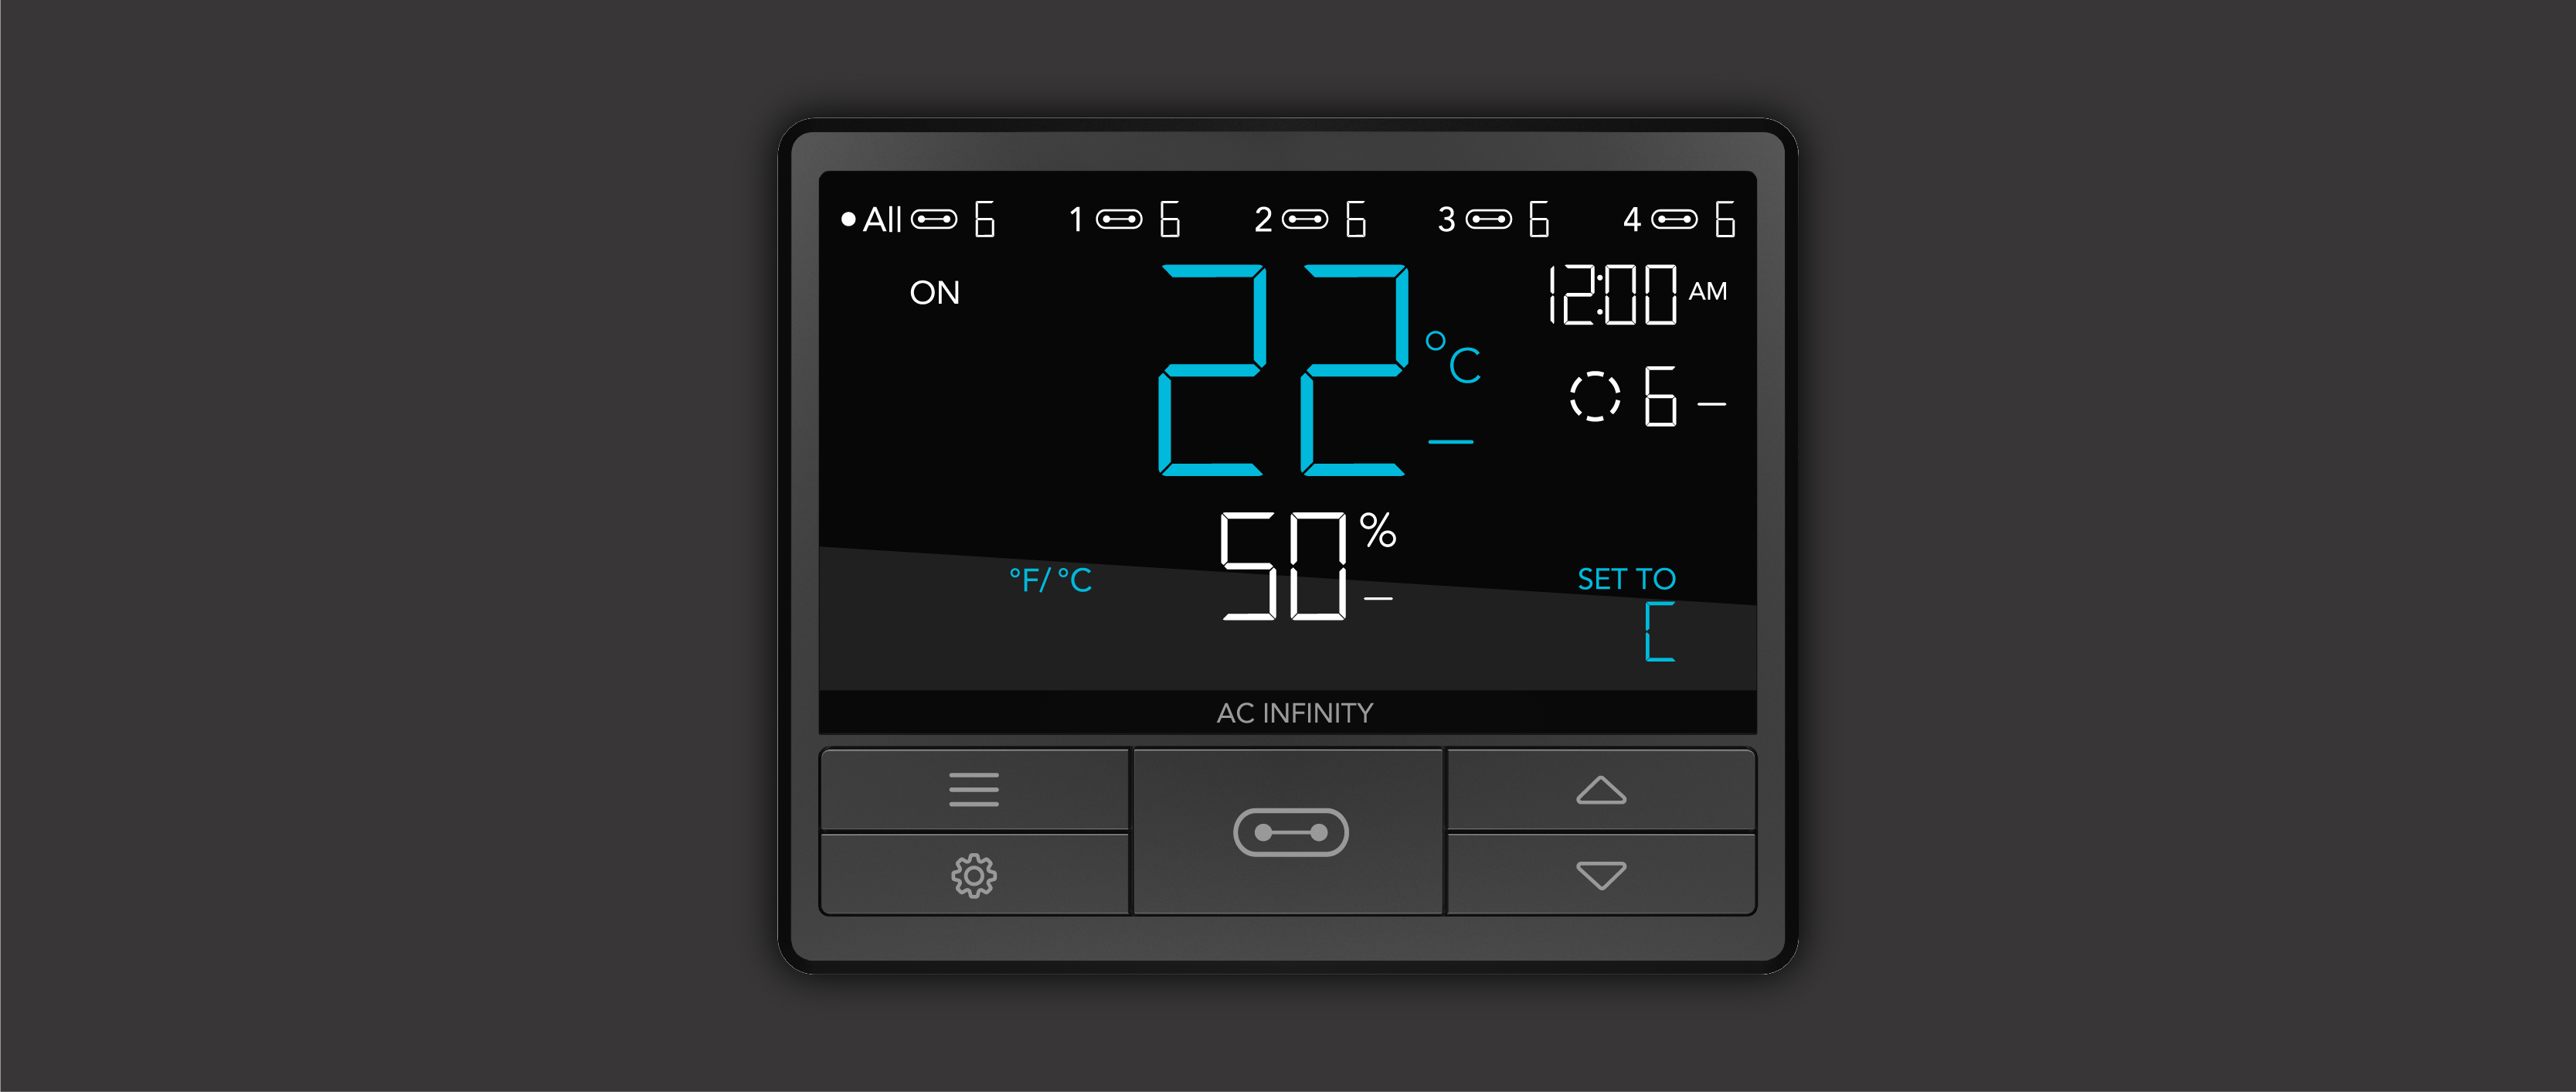
Changes the display unit between Fahrenheit and Celsius. Press the Up or Down button to switch between F and C. All values are automatically converted accordingly.
Clock Setting
Adjusts the current time. Press the Up or Down button to increase or decrease the time. Every time the display scrolls past 12:00, it automatically switches between AM and PM. The time is shown in the top right of the display.

Calibration Settings
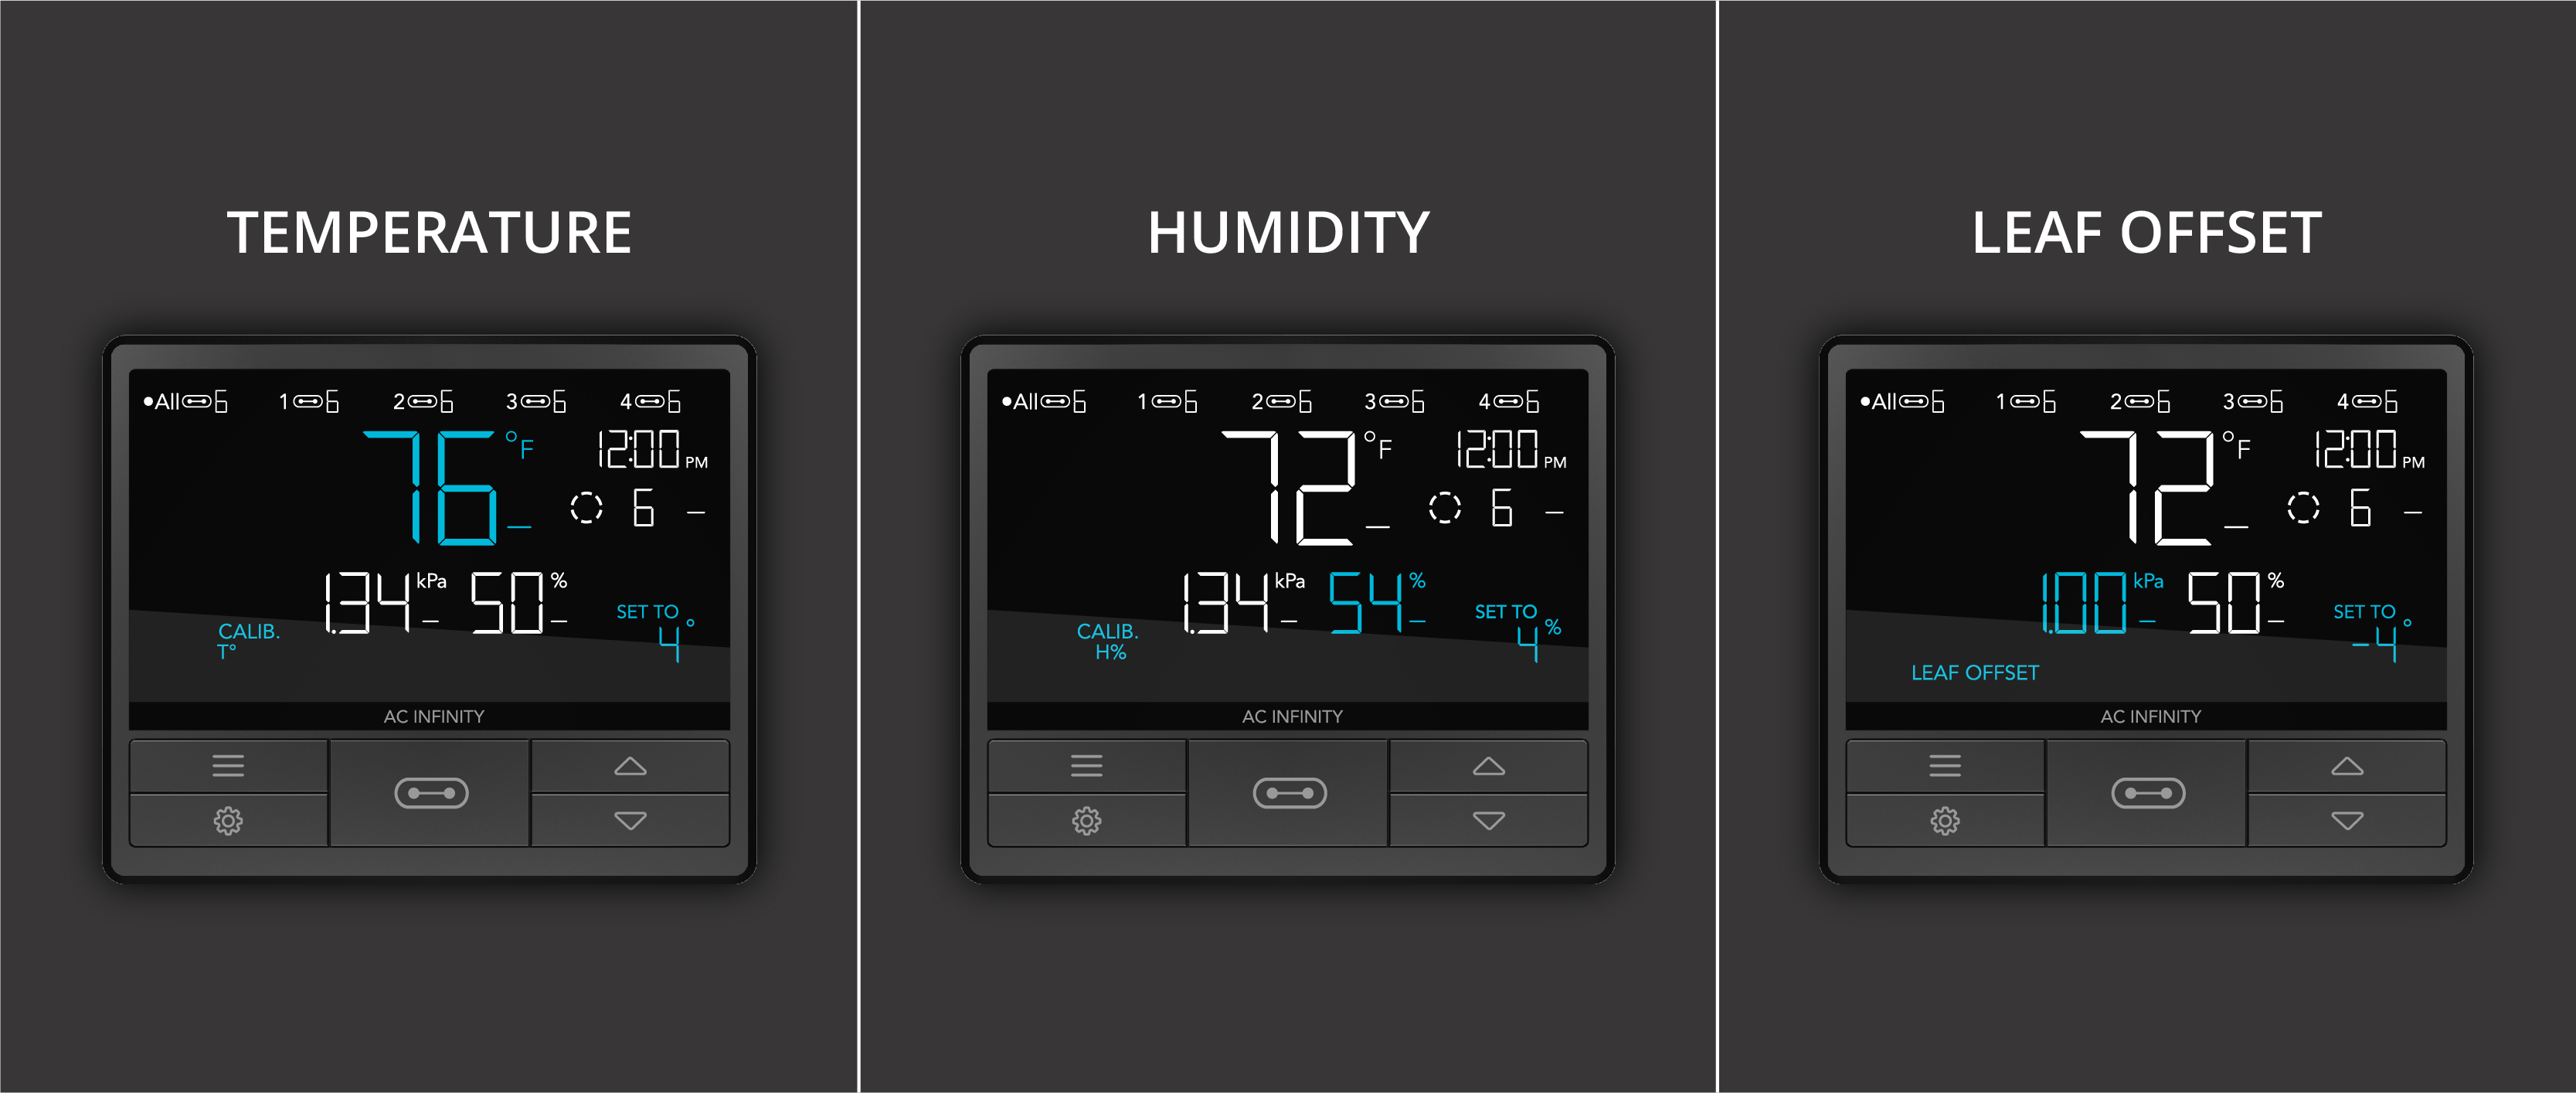
Adjusts the temperature, humidity, and VPD values measured by the sensor probe. Press the Up or Down button to adjust the value in increments of 1°/1%. The VPD leaf offset is exclusively available on the CONTROLLER 69 PRO and newer models.
Locking the Controller
Hold the Settings button to lock the controller in the current mode. While the controller is locked, no parameters or modes can be changed. Hold the Settings button again to unlock it.

Hiding the Controller's Display
Lock the controller by holding the Settings button. Then briefly press the Settings button to turn off the display. Press it again to turn the display back on. Programs continue running in the background even while the display is off.

Resetting the Controller to Factory Settings
Hold the Mode, Up, and Down buttons simultaneously for 5 seconds to reset the controller and restore factory settings. This clears all custom parameters in every mode and setting.


